I received products from Radio Flyer for my review. All opinions are my own.
For the last two years, we have wanted to build raised garden beds. We’ve hesitated doing so because our house is for sale and we didn’t want to build beds and then have potential buyers not like having them on the property. Instead, we just added it to our growing list of things that we would do at the new house whenever we finally got to move. This year we have a different mindset, which is: we are the current house owners, we want raised garden beds, so we are going to build them and enjoy them while we are here.
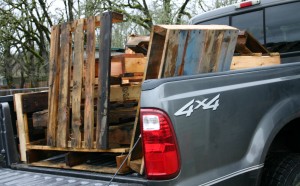
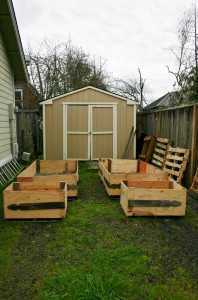
With that said, I didn’t want to go out and spend a ton of money on new lumber and supplies to build raised garden beds in case we do end up moving soon. I googled how to build garden beds with recycled wood and found several ideas on how to build with wood pallets. This was the perfect answer for us. My husband’s employer has a large supply of wood pallets. Most of these pallets are destined for the burn pile. I was able to select enough pallets to construct the bases for two long garden beds and two smaller beds. We were also able to find scrap pieces of lumber that were perfect for the sides of the garden beds.
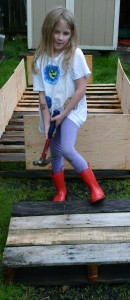
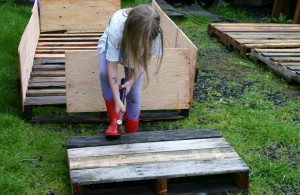
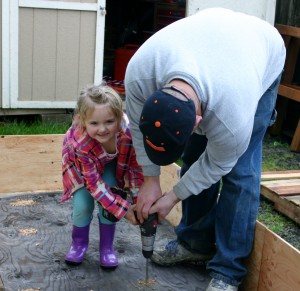
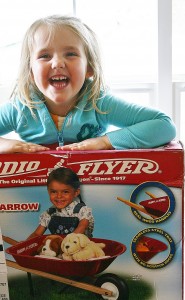
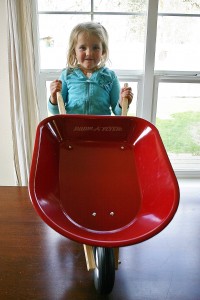
Before we began this project, we gathered a few tools we knew were going to be needed: A saw, drill, screw driver, screws, level, tape measure and a wheelbarrow. This was a family project so we used our daughters (ages 7 and almost 5 years old) new Radio Flyer wheelbarrow. This would show them that their help was important to complete the project.
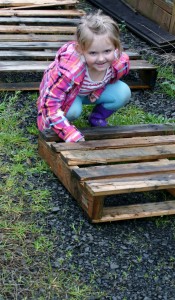
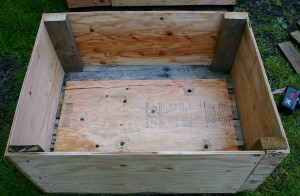
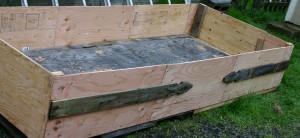
To get started, we placed the pallets in our desired location. Then we constructed the sides of the beds by attaching plywood pieces to the pallet base. Next we used recycled wood fence posts to fill in the base of the beds (between pallet slats). To ensure our garden had proper drainage, we drilled holes in the base so the extra water could drain out. To add the finishing touch, my husband added decorative recycled fence pickets on the sides of the beds.
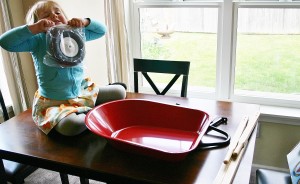
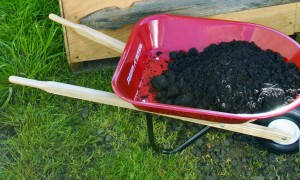
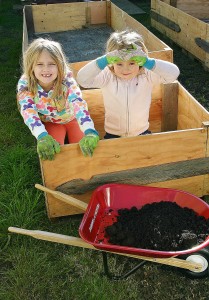
After our garden beds were complete, it was time to fill them. A 3-1 compost soil was suggested to us by our local landscape supply company. The blend contains manure, soil and fine bark pieces. This was the step that my daughters were most excited about. They used their new gardening wheelbarrow from Radio Flyer to help us move the soil. As with all Radio Flyer products, it is constructed to be durable, fun and kid-friendly. The Radio Flyer wheelbarrow is a great size for them. They were able to move all of the soil to the garden beds for us. The girls were great helpers!
Now that our raised garden beds have been completed, we are excited to enjoy our produce. This has been a really fun project. I wish we wouldn’t have waited so long to do it.
If you are planning on a garden or landscape project with kids, I suggest a Radio Flyer wheelbarrow. You can see all of Radio Flyers products on their website. You may also connect with them on facebook, twitter and pinterest.
Hello, my name is Laurie. My family and I live near the Oregon coast. When we aren’t at work, in school, or on the volleyball court, we enjoy traveling, cheering for our favorite sports teams, playing outdoors, and checking off items on our bucket list. We are lucky in that both sets of our parents, as well as our siblings and their families, live within an hour of us. We get together often to help one another out, celebrate milestones, and go on adventures together.
I’ve never seen raised garden beds made like that. What a great idea! You are so fortunate to have access to the pallets to make it an inexpensive option. That wheelbarrow is cute! It looks like your daughters will make great use of it for some time to come!
My son has been using a little plastic beach wheelbarrow for our gardening adventures. I didn’t even realize they had these from Radio Flyer! Totally picking one up for him.
I had a little red wheel barrel just like this one at my home in Colorado. It looks like a lot of work you all did, but fun, and I know you loved when it was done.
After showing this post to hubby he has picked up some pallets from the lumberyard up the street and we are going to give the raised bed a go this year and see if it works better for us,i just love the no getting down on my knees to weed !


katie
Deb E
kathy downey

I’ve never seen raised garden beds made like that. What a great idea! You are so fortunate to have access to the pallets to make it an inexpensive option. That wheelbarrow is cute! It looks like your daughters will make great use of it for some time to come!