*I was provided with tape from Scotch. All opinions are my own.
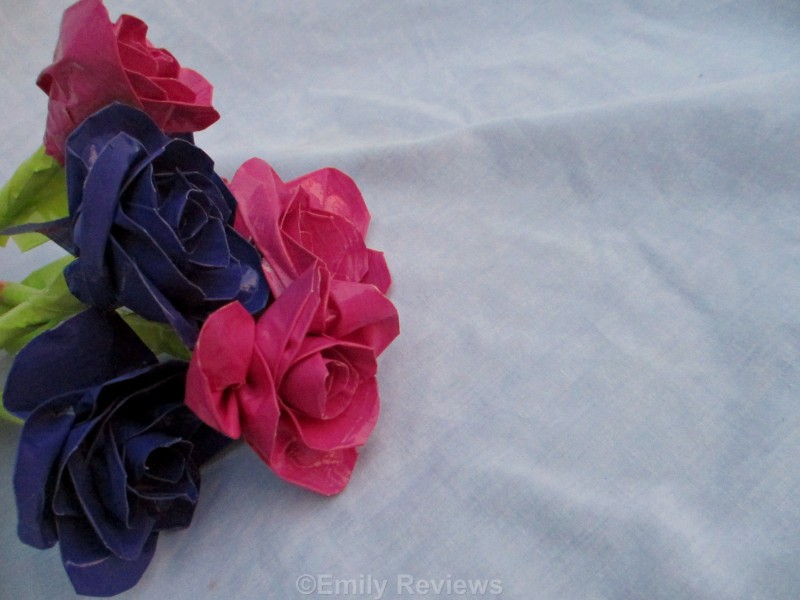
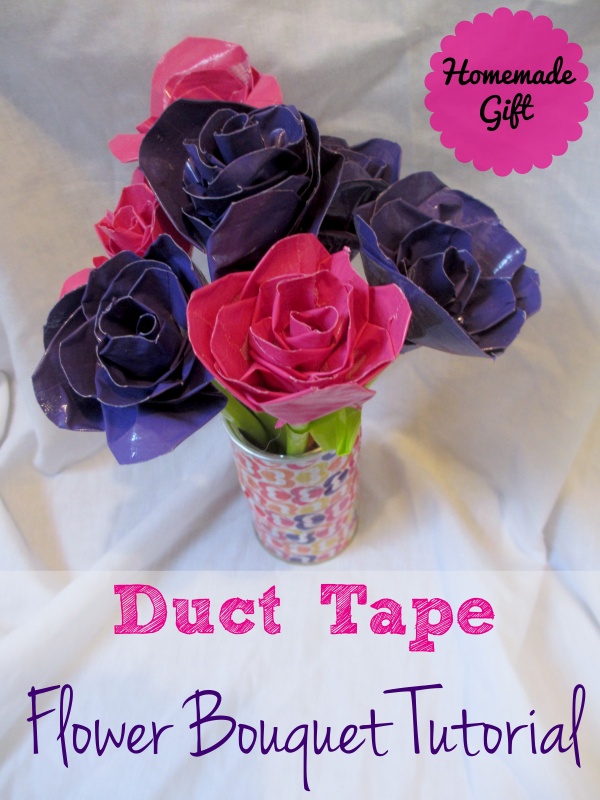
A few years ago I saw these spikey-looking duct-tape flower pens somewhere on the internet. I liked the general idea but wanted to create something that looked more like a real flower. I knew this would mean creating rounded petals instead of pointy ones. I tried following the pointy-flower tutorial but editing it with round petals but it was a disaster. I tried again a few weeks ago, and made a mess yet again. I tried for a third time this week and finally was able to figure out how to create what I had in mind. The end product looks pretty similar to a rose, so I am really happy with them. You could make them on the end of an ink pen for yourself or a friend, or create several on pencils, straws, skewers, or any other long, skinny object to make an entire bouquet! My kid sister turned 11 yesterday so I am planning to give her a duct tape flower bouquet for her birthday.
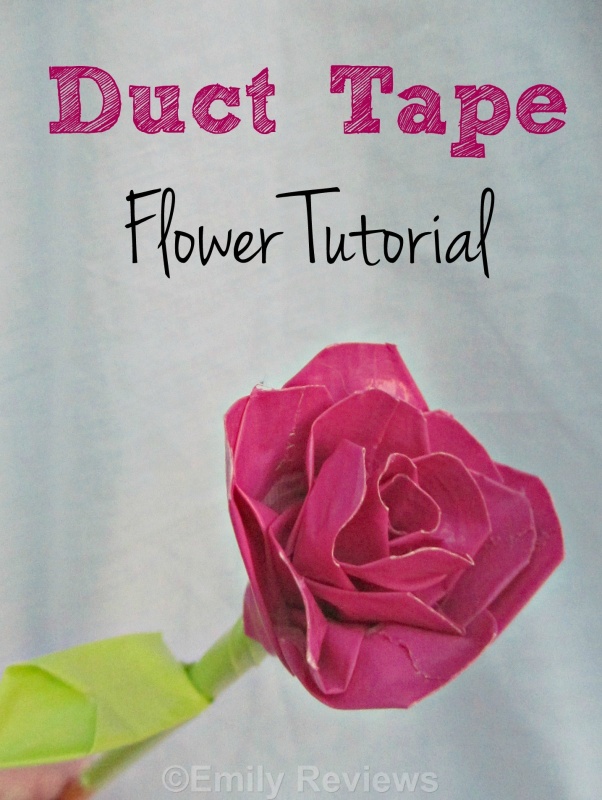
Want to know how to make duct tape flowers? Here is a tutorial for the duct tape roses that I created.
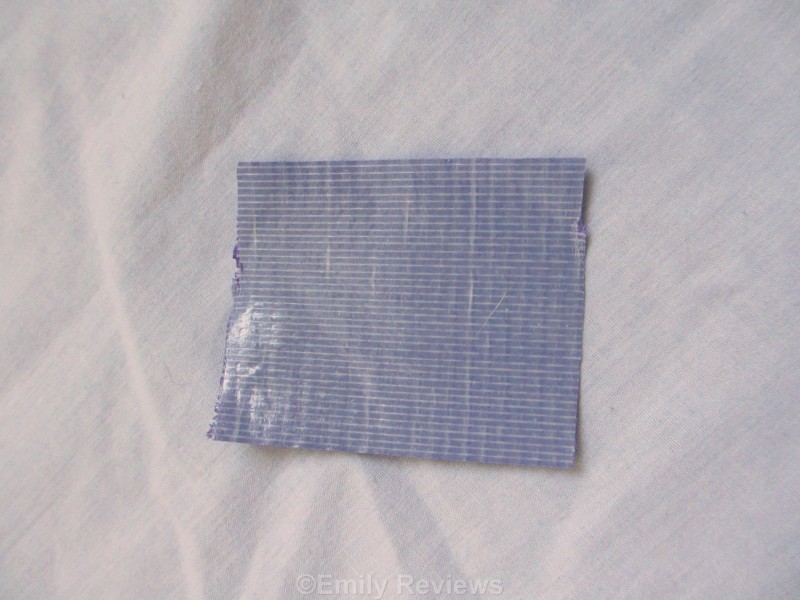
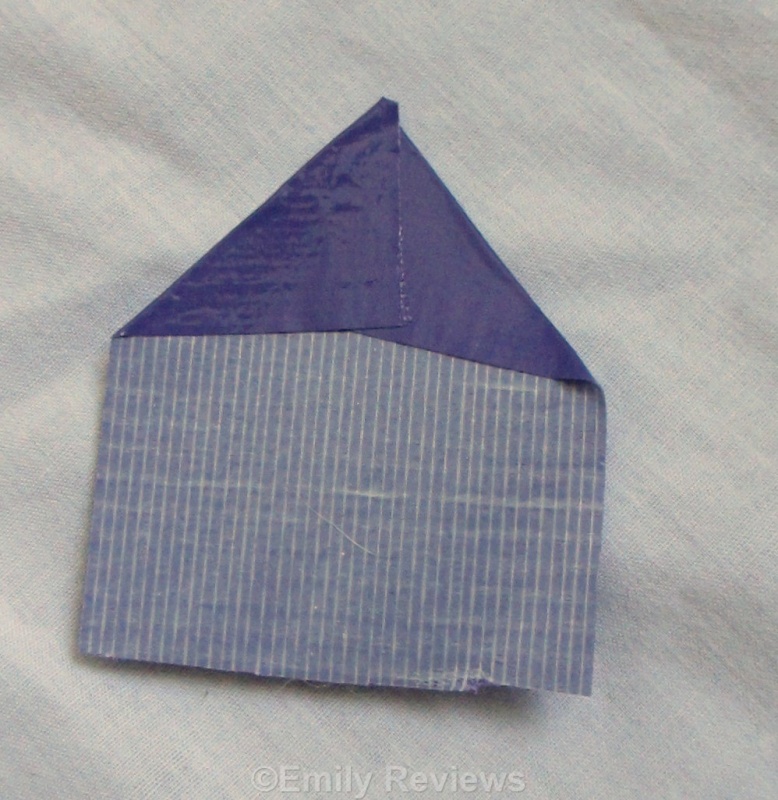
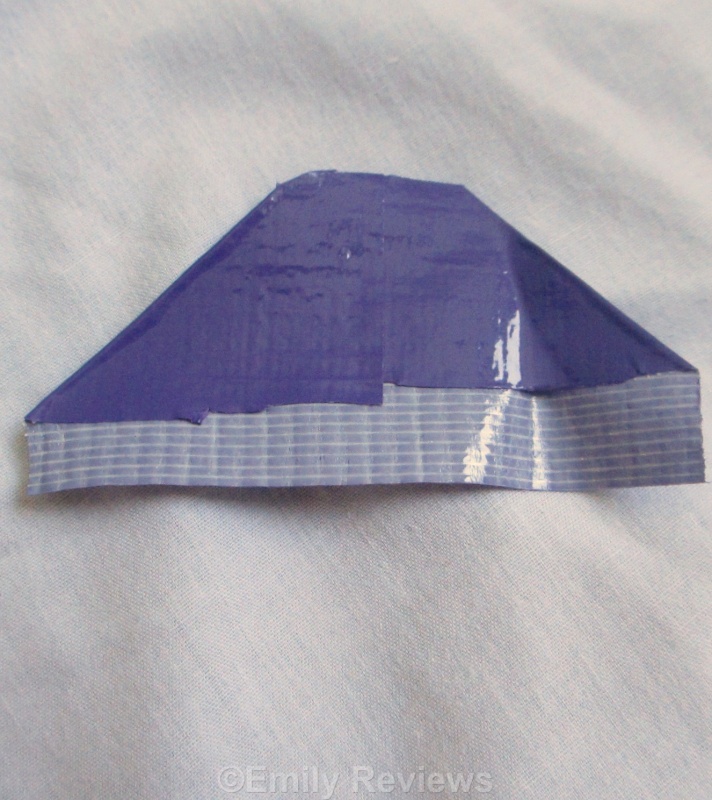
- Find pencils, sturdy drinking straws or a similarly sized and shaped object. Start by tearing off a piece of duct tape that is roughly an inch and a half long, so it’s about square with the width of your tape. Lay it flat on the floor, and take the two top corners and bend them into an angle about half way down the tape. If you want your petals round like mine, snip off the pointed angle at the top, making it round.

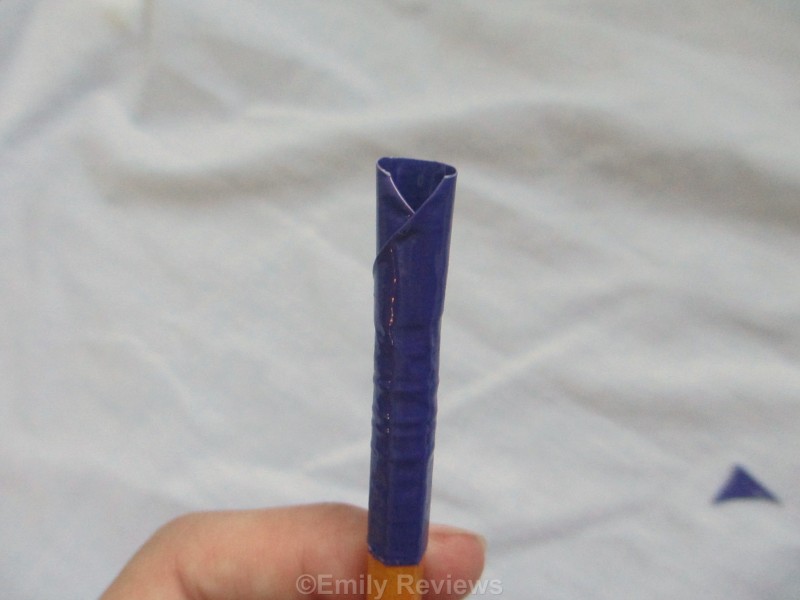
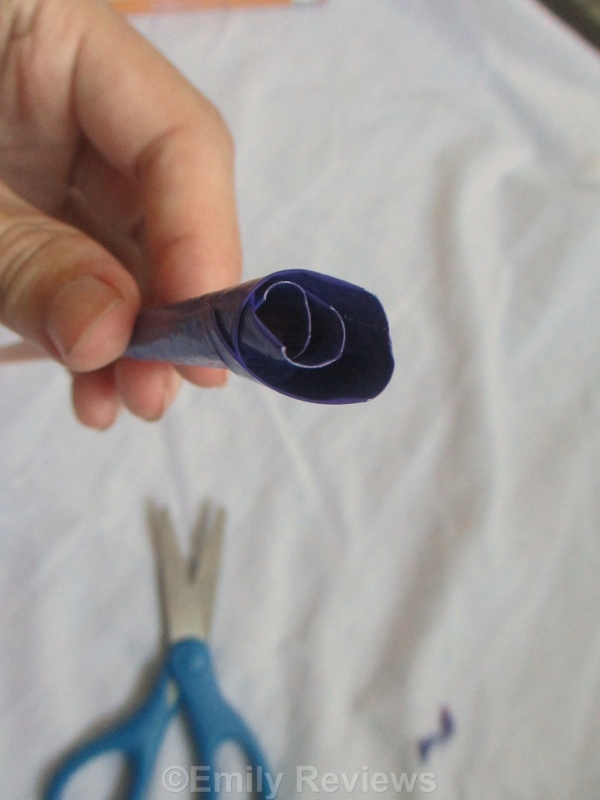
- Line up the piece of duct tape with your pencil, and roll it around tightly. This will be the very center of the flower.
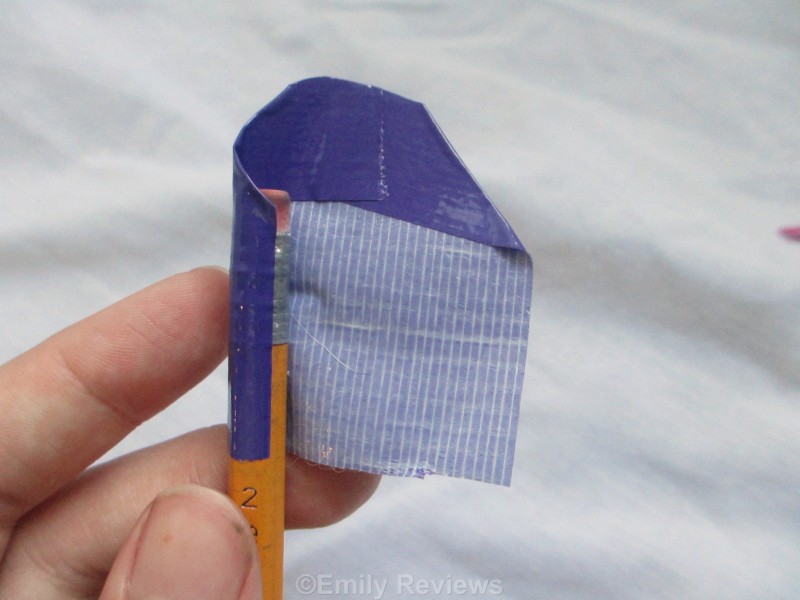
- Tear off another square of duct tape, fold the top in, snip the angle so that it is round and wrap it around the other piece of tape.
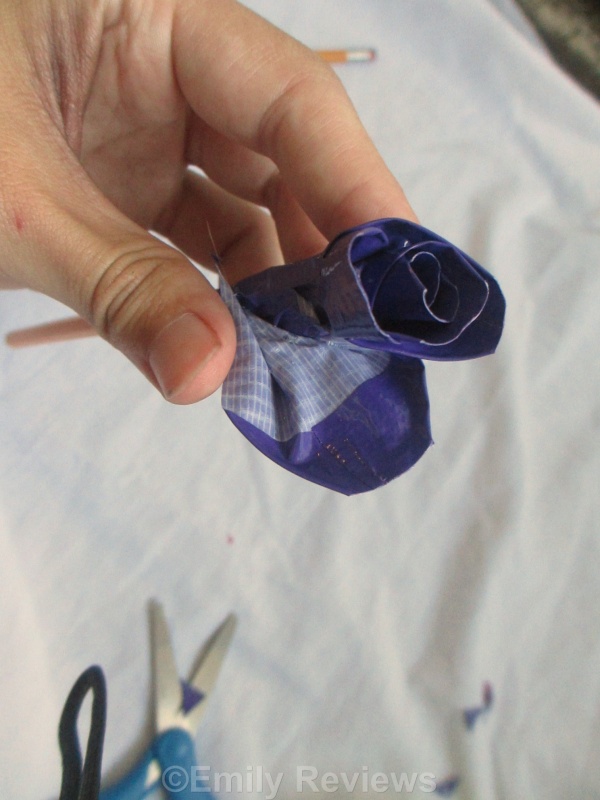
- For the third “petal”, allow the tape to circle around the inner petals a bit more loosely. This will allow a bit of space between the layers, so the flower will appear to be fully “bloomed”.
- After five or six petals, overlap the bottom sticky area of the tap a little bit. This will create even more distance between one layer of petal and the next.
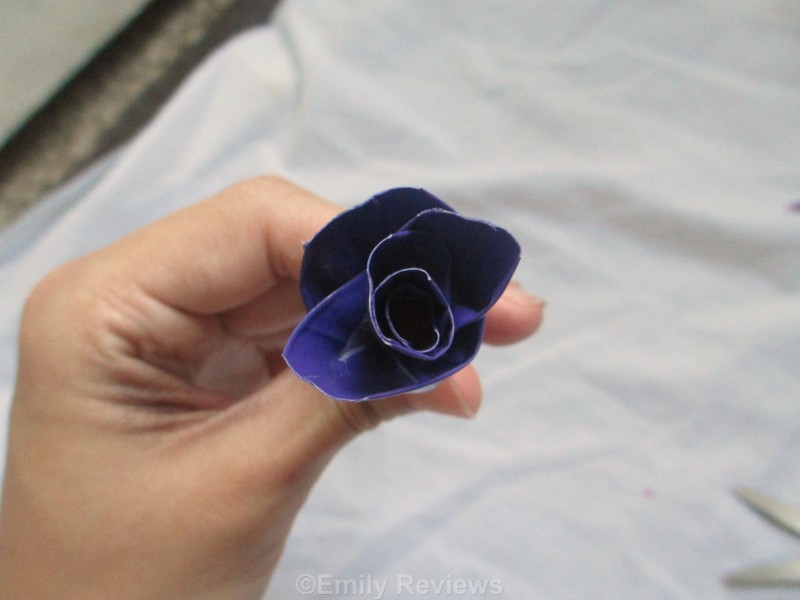
- After you get two “rings” of petals (like the photo on the left below), start tearing off slightly rectangular pieces of tape instead of square pieces. When you fold two corners down, make sure that the tape is horizontal. This will cause the sticky bottom portion of your tape to be longer than before. This has two benefits. One is that it will wrap around the outside of your flower better now that the inside is bigger. The second benefit is that you have more “wiggle room” for creating wrinkles in the tape to add space between layers of petals.
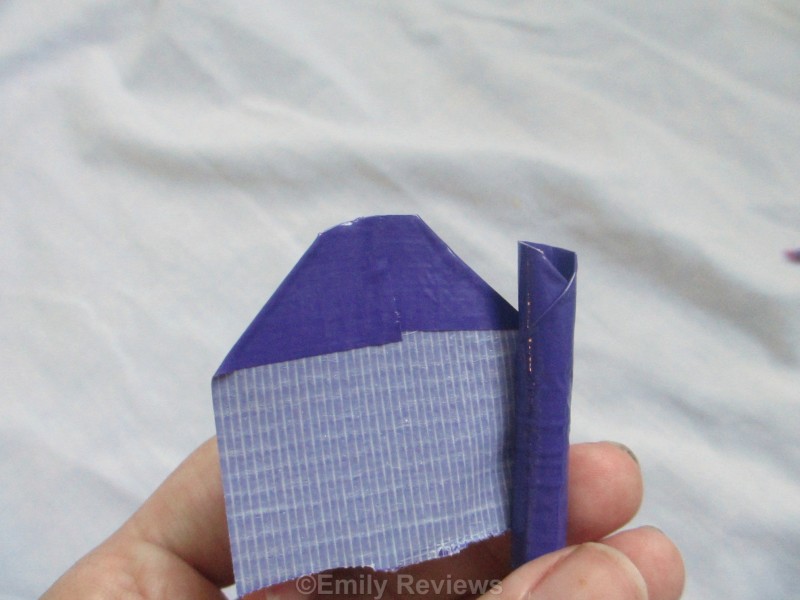
- Once you are happy with the size of your flower, you can go back in and snip off any pointy angles on your flowers or even out the petal heights if you wish.
- With green tape, cover the very bottom of the flower portion (to give it an even-look) as well as down the pencil.
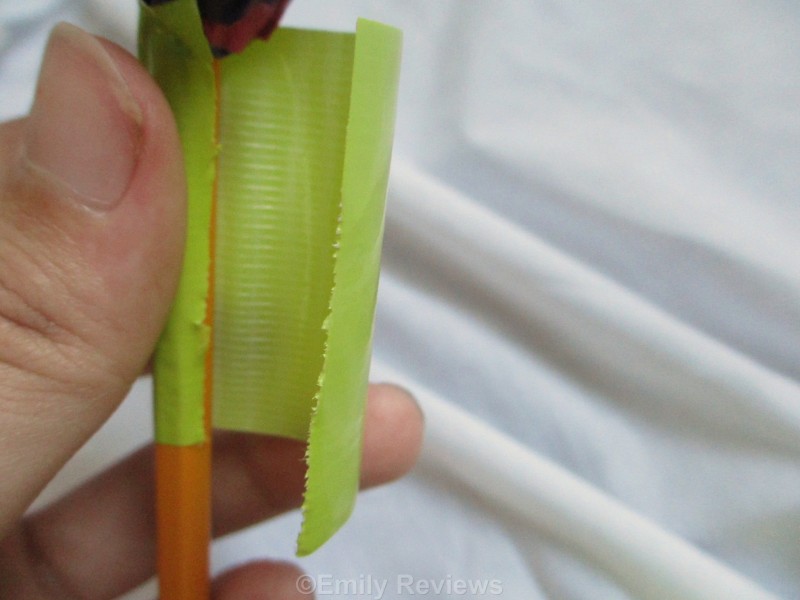
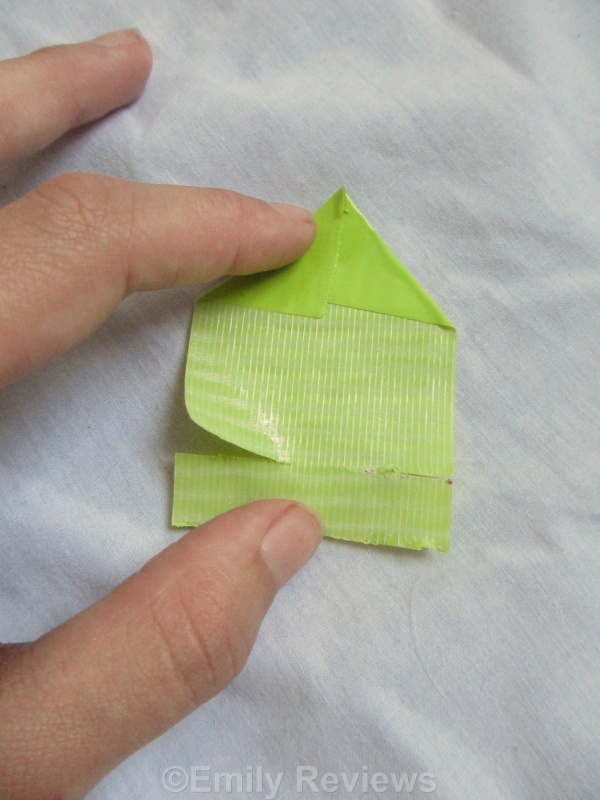
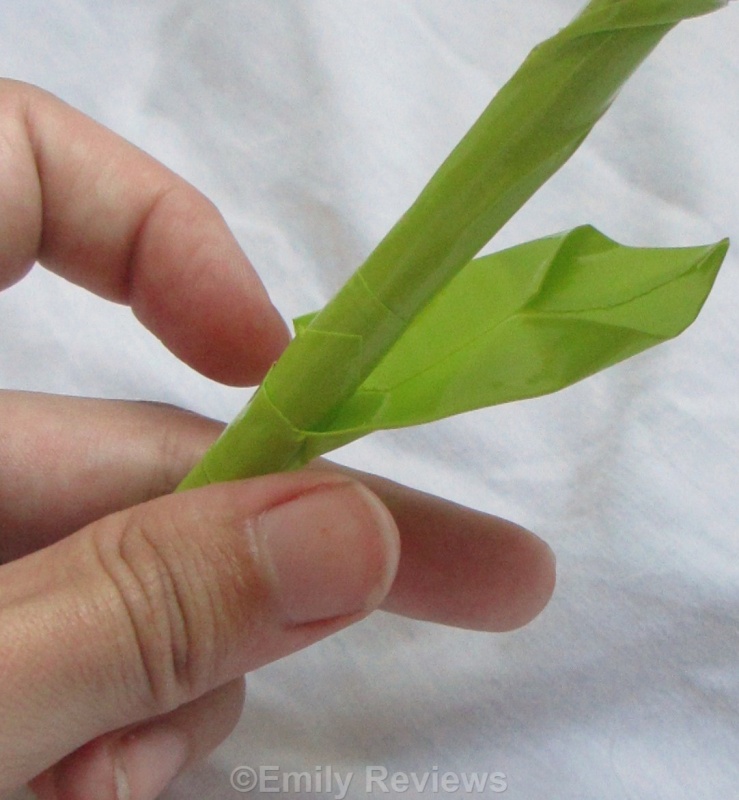
- If you want to create a leaf, cut off a 2-2.5 inch piece of green tape. Create a point at the top of the tape. Roughly 1/4 inch from the bottom of the tape, make horizontal cuts going about 1/3 of the way into the center (leaving the middle 1/3 of the tape intact). This will allow you to fold the sides of the tape in on itself, but will leave the bottom 1/4 inch straight.

- Wrap the sticky end of the tape around the pencil.
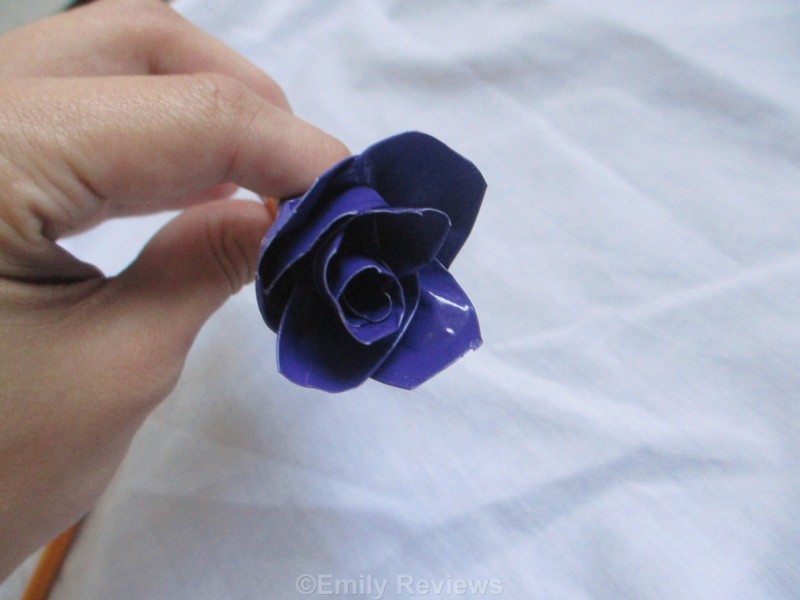
- That’s it! You have a duct tape rose.
Duct Tape Rose Tips & Tricks:
I found that the decorative Scotch Duct Tapes that are made for crafting thinner and had more “give” or bend to them than traditional duct tapes for non-craft purposes would. This helped a lot with manipulating the tape to the angles that I needed, especially for the petals that were on the outsides that I wanted to wrinkle to create the layered look.

If you want to create a pointy-flower, just don’t snip the petals into a round shape.
If the lower outside of the flowers doesn’t look great, tear off a strip of tape and cut it horizontally to create a thin (maybe 1/4-1/2 inch) strip of tape and wrap it around the area of the flower that connects to the pencil to hide the area where the petals connect to each other.
If you aren’t happy with your first flower, keep trying. I saw a huge improvement between flowers 1 and 2 and again between 2 and 3. By my third flower, I pretty much had it down.
If your flower doesn’t appear as “bloomed” or open as mine, when you try again, put more wrinkles in the petals and/or wrap the petals more loosely when you apply them.
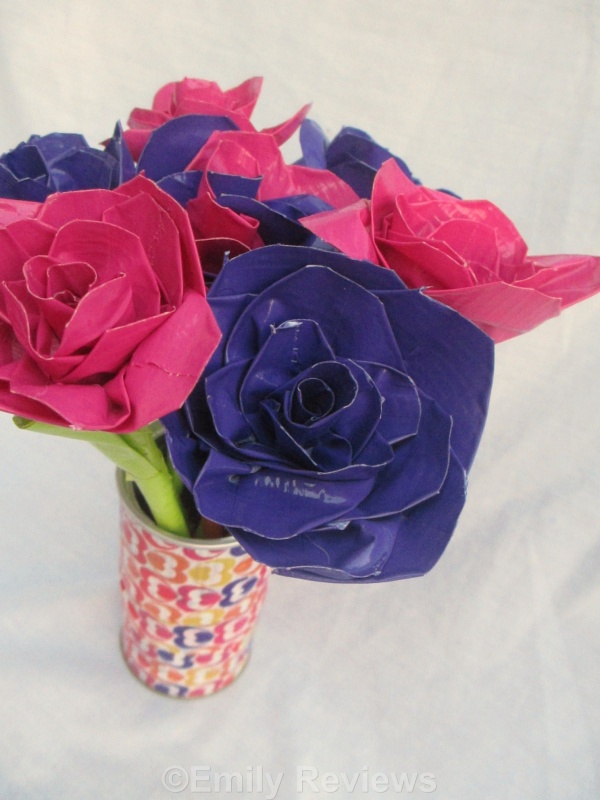
Find a can or other container that you no longer need and cover it with decorative duct tape to make a vase.
If you make flowers, i’d love to see pictures of your creations!


Related Posts:


")


Hi there! I am Emily Evert, the owner of Emily Reviews. I am 28 and live in a small town in Michigan with my boyfriend Ryan and our two pugs. I have a large family and I adore my nieces and nephews. I love reading memoirs, and learning about child development and psychology. I love watching The Game of Thrones, Teen Mom, Sister Wives and Veep. I like listening to Jason Isbell, John Prine, and other alt-country or Americana music. I created Emily Reviews as a creative outlet to share my life and the products that I love with others.
This post currently has 8 responses.
-
kusuma
Lovly creation.i never knew about the duct tape.can u please tell me availability of that tape.
-
katie
So cute! I never knew duct tape came in such pretty colors now and I’ve always liked those flower pens, more fun then just boring pens on a desk.
-
Deb E
I never would have thought these pretty flowers were made from duct tape. I only have the blah silver color so guess I need to shop for some snazzier tapes for flower-making.
-
kathy downey
Wow,you sure done an amazing job,they look great !
-
Rosie
these came out so nice! I make fabric flowers and accessories to give away, so this caught my eye! I must try it!


I bet you had fun making these. I am impressed with the colors. I knew there was colored tape but I wasn’t aware that they had this tape. Thanks for the great lesson on how to make the flowers. They are cute.