I have shared with you my past and present in the art of Henna, and now I would like to share with you my beginning road of Jagua.
First of all what is Jagua?
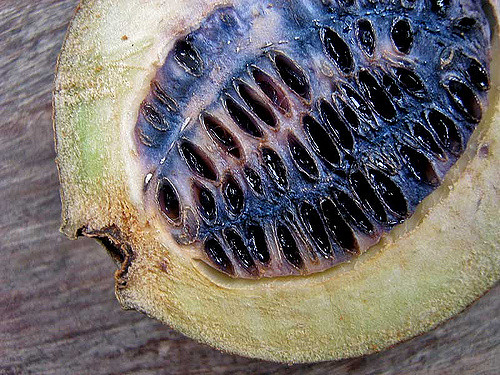
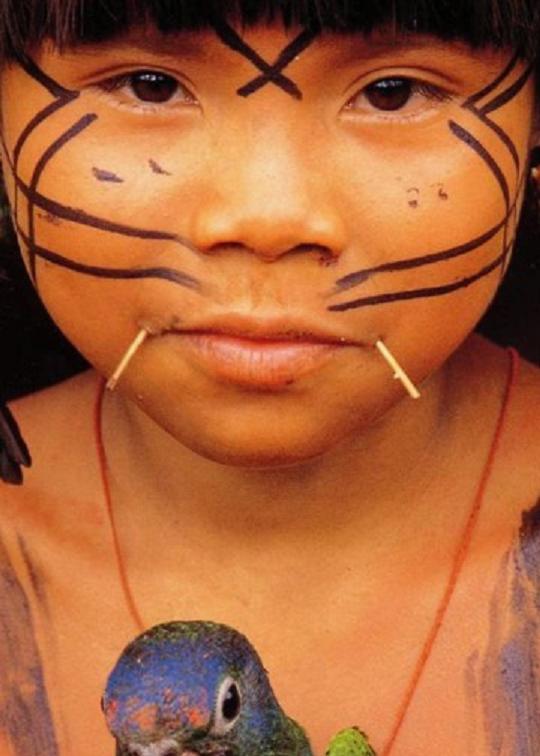
Jagua is a trade name for the skin dying gel made from a rainforest fruit by the name of Genipa Americana. Thousands of years, South American natives have used the indigo/black dye obtained from the unripe Genipa fruit to adorn their beautiful skin and ward off stinging insects.
There are some pretty dreaded stories about “Black Henna” I assure you Jagua is NOT that. Black henna is a chemically made dye, with very harsh and damaging ingredients. The Jgaua I use comes from a company named Fresh Jagua and the ingredients are as follows: Genipa Americana Fruit Juice, Xanthan Gum,Citric Acid,Potassium Sorbate,Organic Lavandula Angustifolia Oil.
In the same way that Henna can be done freehanded or with stencil, so can Jagua. So far I have only done Jagua tattoos with stencils as I am still getting used to the consistency and application. Going forward I will explain the use of Jagua as I do it with a stencil.
Step One:
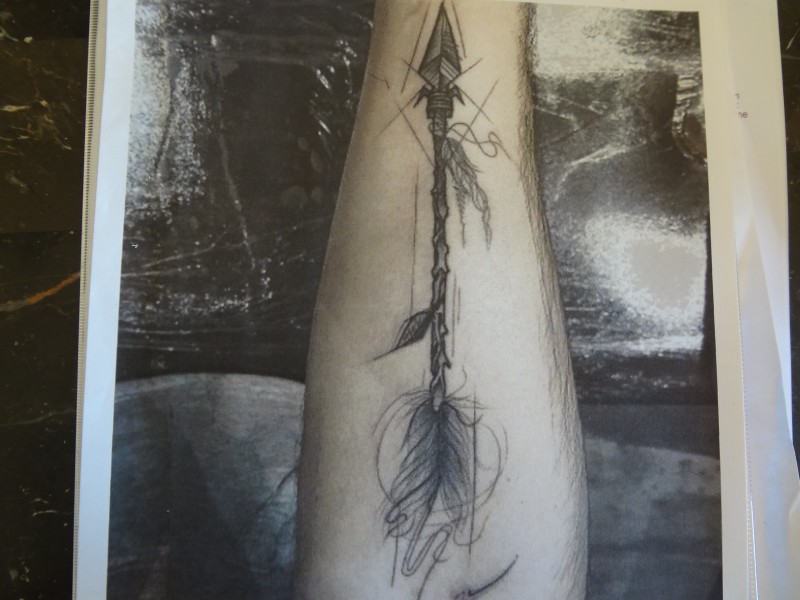
And arguably the most difficult step in the process, chose a design you like. You could draw this design yourself, find on online you like, or have a artistic friend draw you one. My husband chose this one from Pinterest.
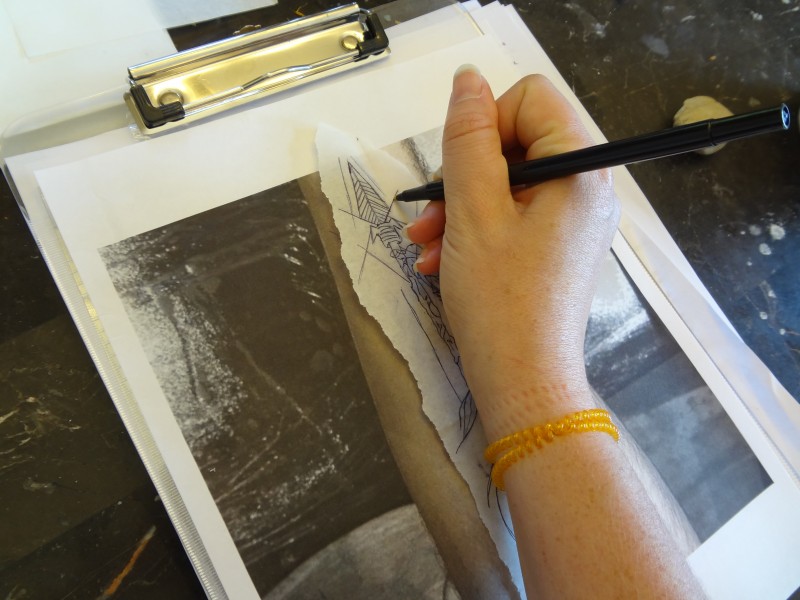
Step Two:
Use an ink pen to trace the image onto some tracing paper. After tracing the image you can cut out the image if needed.
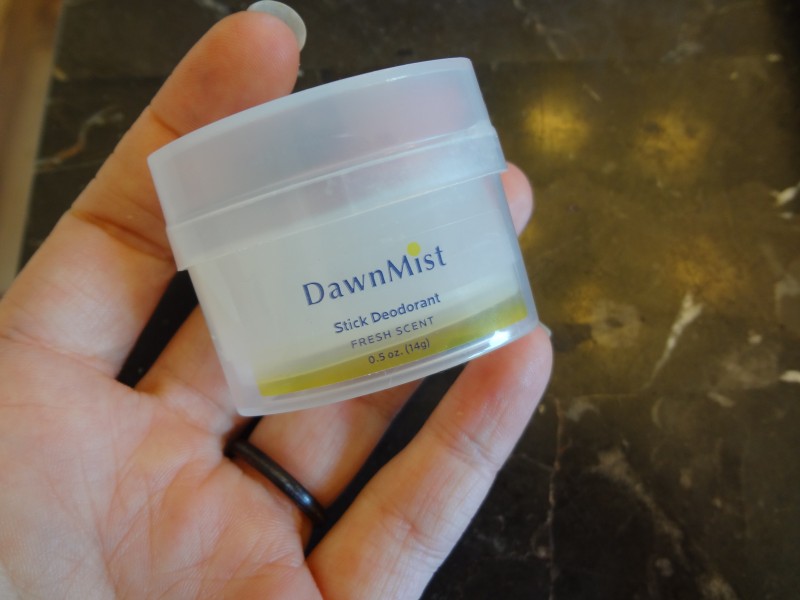
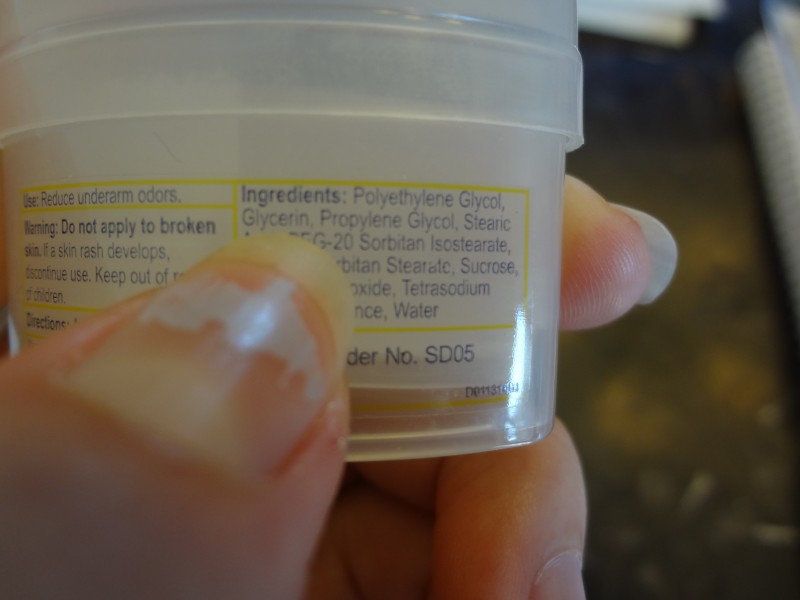
Step Three:
Apply an oily or glistering type of deodorant onto the area that is to be tattooed.
Step Four:
Place traced transfer image in same place you applied deodorant. Rub hand across the image gently and remove the tracing paper.
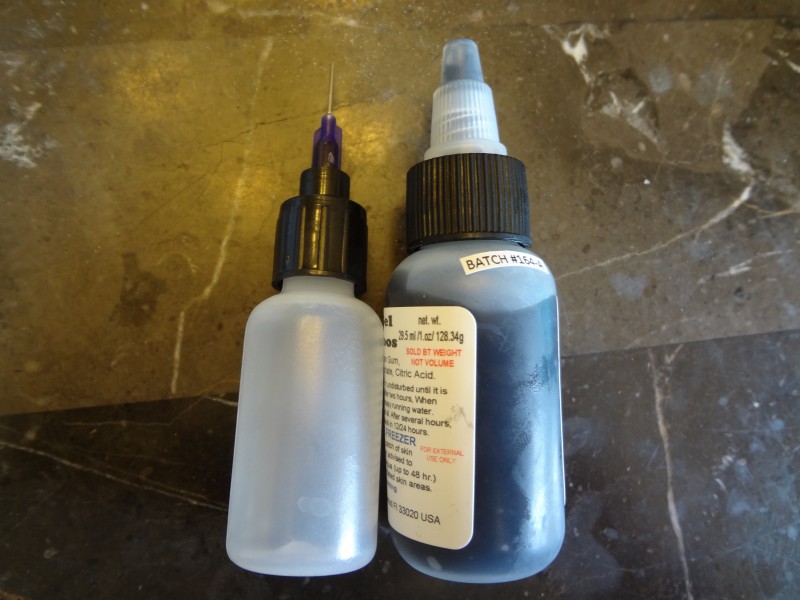
Step Five:
Ready your Jagua Gel. Some use a cone in the same way Henna is applied, others use a squeeze bottle with a fine tip to ensure more precise lines. So far I have only used the squeeze bottle but do experience a bit of hand cramping using this. The Jagua comes in the bottle on the right and I put a small amount for the tattoo in the bottle on the left to apply.
Step Five:
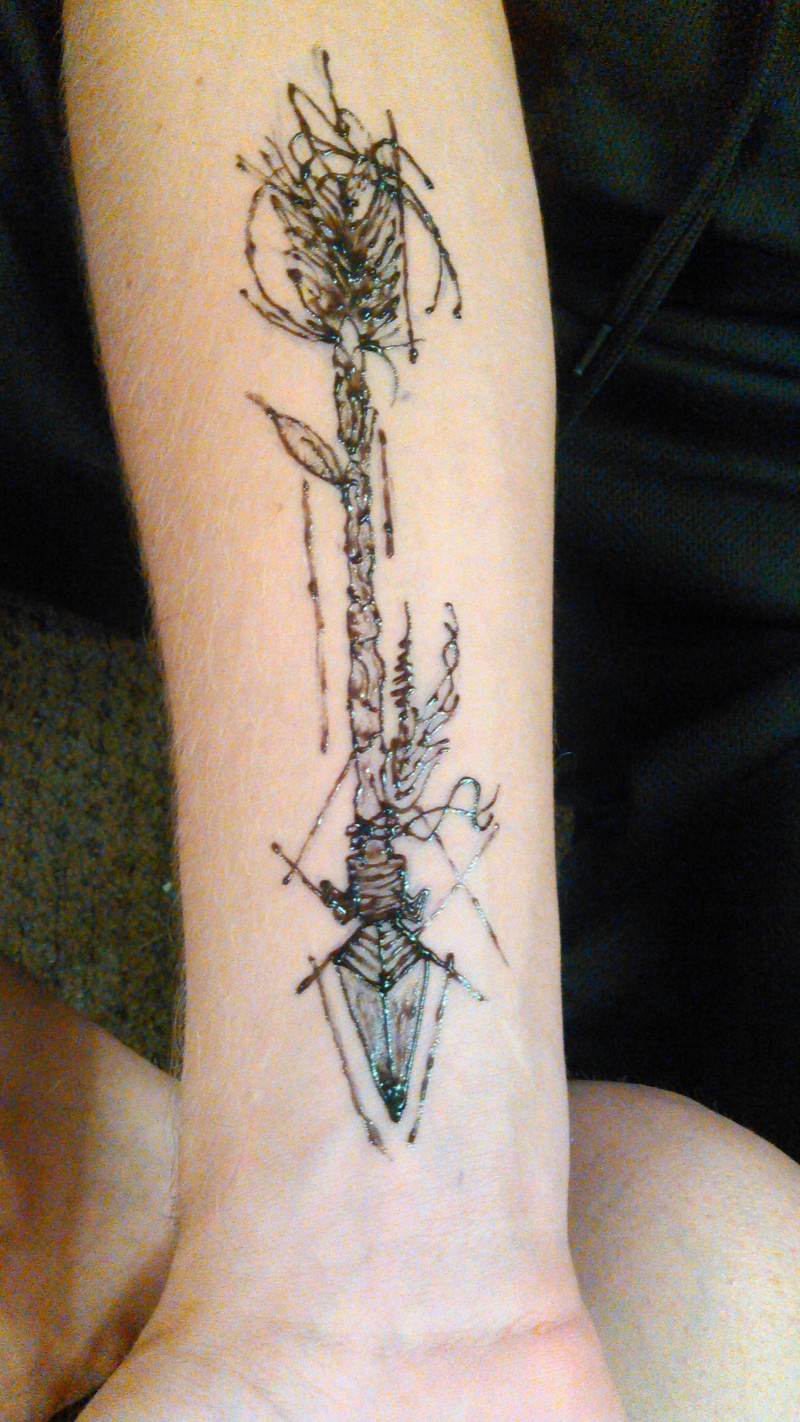
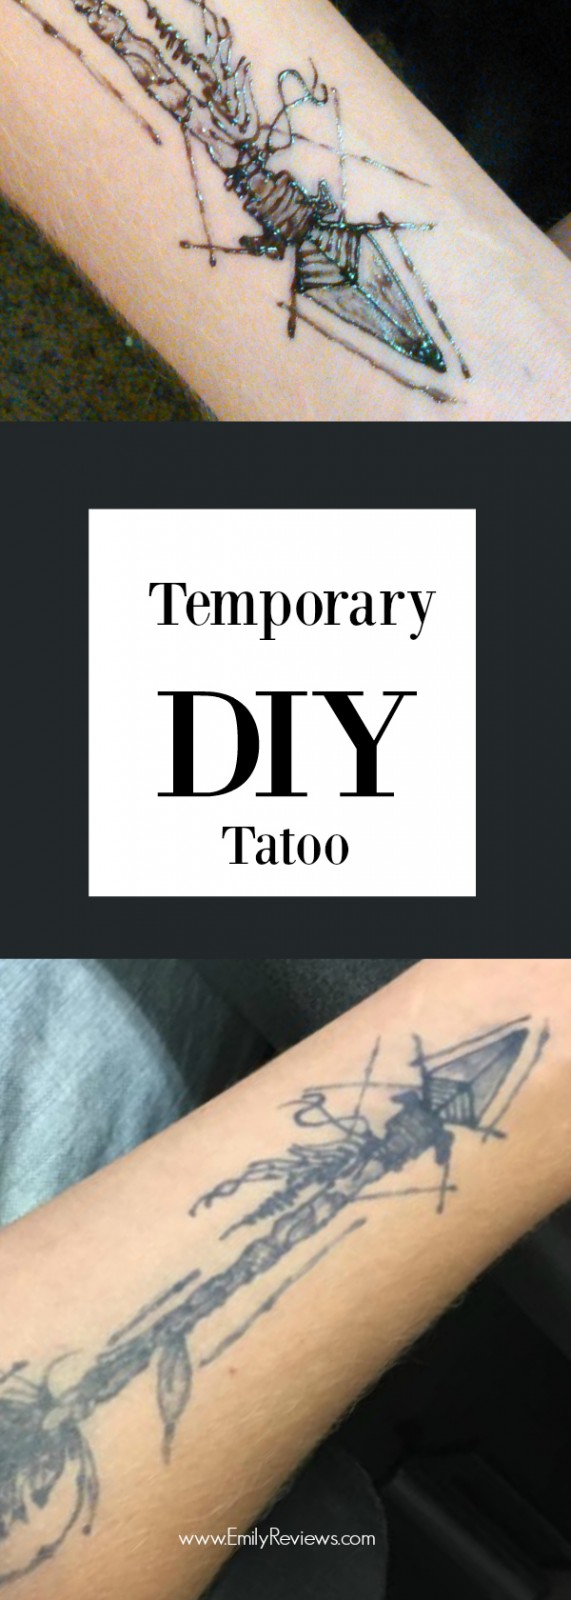
Let the Jagua Gel flow. Follow your traced lines with the Jagua and if desired add some shading to the places that need it. I find that the thinner of a layer of Jagua I leave on the skin the lighter the dye comes out and vise versa.
Step Six:
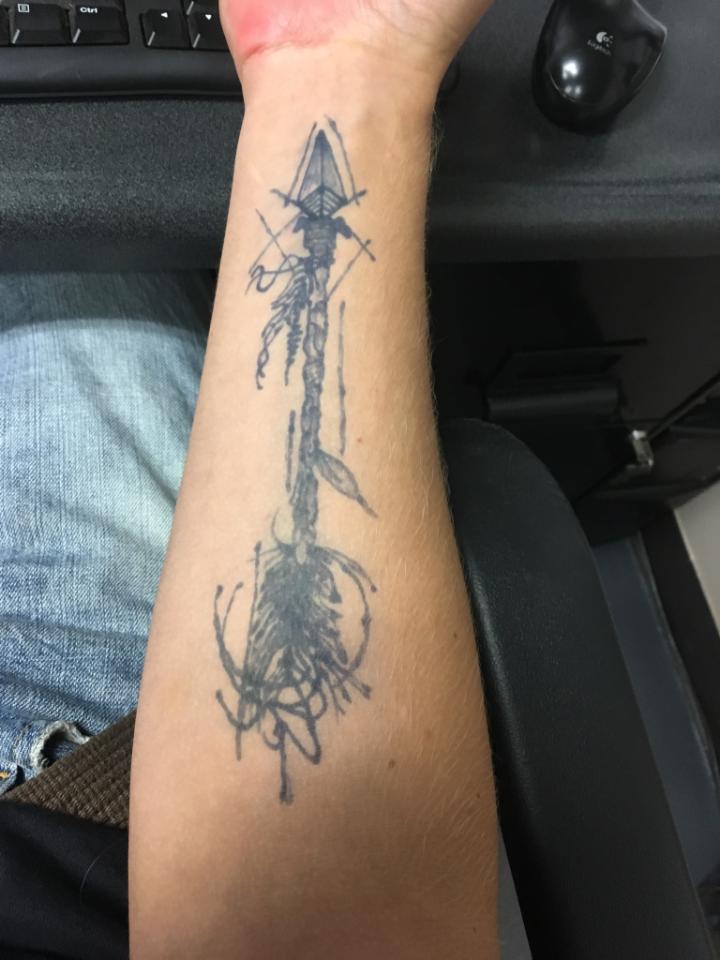
Leave the Jagua to dry for 1-2 hours and then wash off with soap and water. Immediately following the removal of the gel there most likely wont be anything underneath. Your skin might be slightly tinted but probably not. Within 48 hours the Jagua tattoo begins to darken developing to its full dark blue/black potential. Photo below is one full day after application.
Step Seven:
Enjoy! There are some aftercare tips to help extend the life of your Jagua tattoo such as:
Applying oil to the tattoo before sleeping, swimming, or showering.
Keeping your body hydrated.
Avoid heavy exfoliation in that area.
Apply sunblock before tanning.
With care you Jagua tattoo can last up to 3 weeks!
Have you ever heard of Jagua? Would you be interested in trying it sometime? Share with me in the comments!
I am a stay at home mother of two, who loves to create in every form, from cooking, to henna, to painting or sculpting, creating with my hands is my passion! I love to dance and let loose when the music flows right. Being outside is a special kind of therapy I think humans need more of as well as mindfulness! I love all things new and adventurous and am always looking to experience more of life 🙂
Related
This post currently has 8 responses.
Peggy Nunn
That is so interesting. I still will not get one but I like learning about things and this is an interesting hobby.
I have never heard of Jagua before, but it sounds awesome! I love that it can last for up to 3 weeks! That is a great way to test out a tatoos you want, or where you want it. Or even just to switch it up and have art on your body if you don’t feel comfortable getting a permanent one! Thank you so much for sharing this! 🙂
This I have never heard of before. I have heard of black henna, and I am glad to see an alternative. I really liked the way you went step by step in the process. I am amazed it lasts this long being a fruit dye, but then again, I have seen some pollens from some flowers last a week and thats with scrubbing!
I have thought about doing this just for fun! Me and my daughters was thinking of doing a temporary tattoo for the Spring, but we shall see.
@tisonlyme143


Michelle S
Lakota
Lauryn R
ellen beck
Sarah L
Dorothy Boucher

That is so interesting. I still will not get one but I like learning about things and this is an interesting hobby.