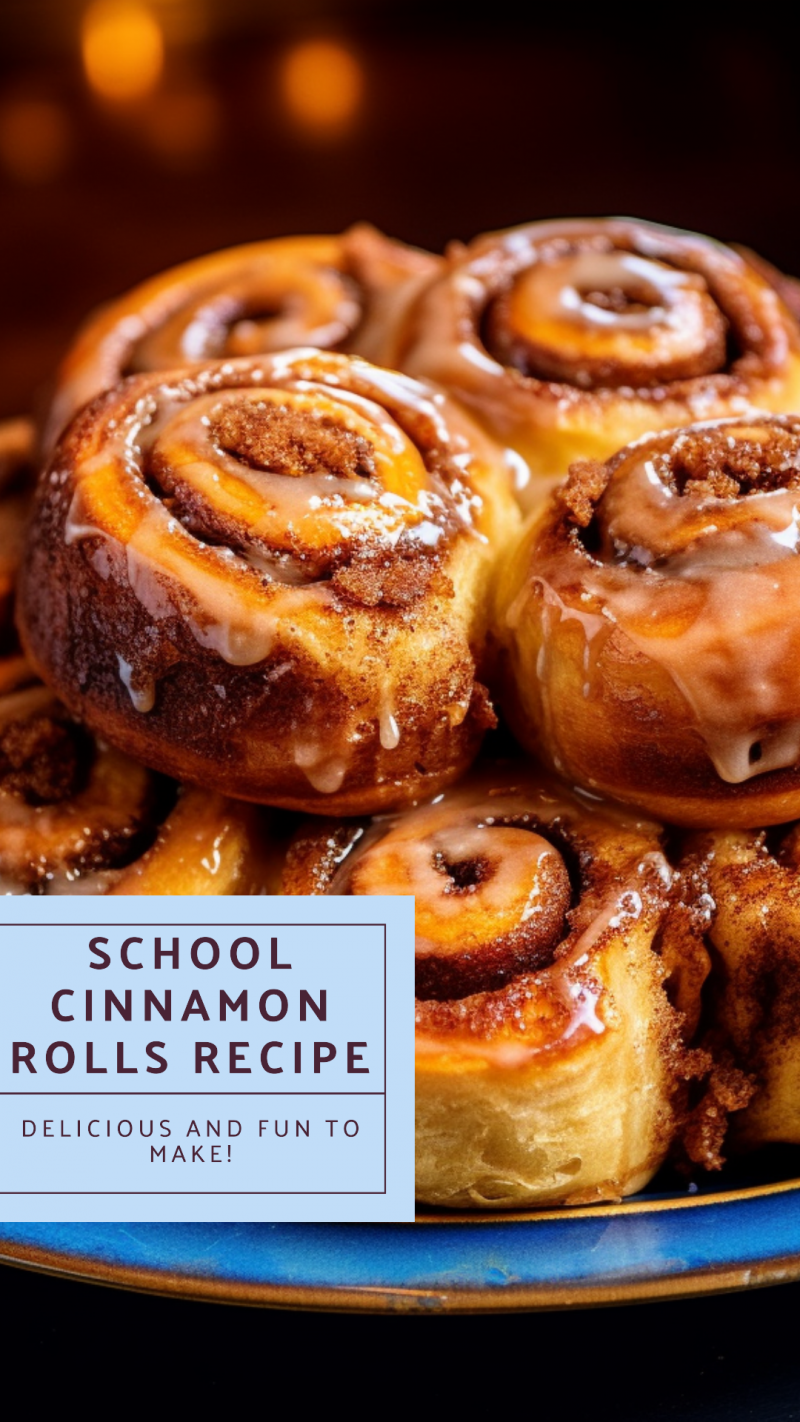
School Cafeteria Cinnamon Rolls: An Ode to Childhood Delights
Ah, the sweet aroma of cinnamon filling the air. Who can forget the delightful taste of the elementary school cinnamon rolls, those round morsels of doughy goodness that made school mornings so special? We’re going to take a trip down memory lane, revisiting that cherished recipe, the school cafeteria cinnamon rolls that once graced our lunch trays and stole our hearts. Prepare to reminisce, and even better, to recreate this iconic school cinnamon rolls recipe at home!
A Brief History of the School Cinnamon Roll
Not many people know this, but the lunch lady cinnamon rolls were a staple in school cafeterias all across America. The reason? Cinnamon rolls are relatively easy to make in large quantities, they store well, and above all, children love them. These school cinnamon rolls were not just breakfast items. They were also served during lunch and sometimes as a treat during special events, thus earning the title, ‘school lunch cinnamon rolls’.
The Irresistible Appeal of School Cafeteria Cinnamon Rolls
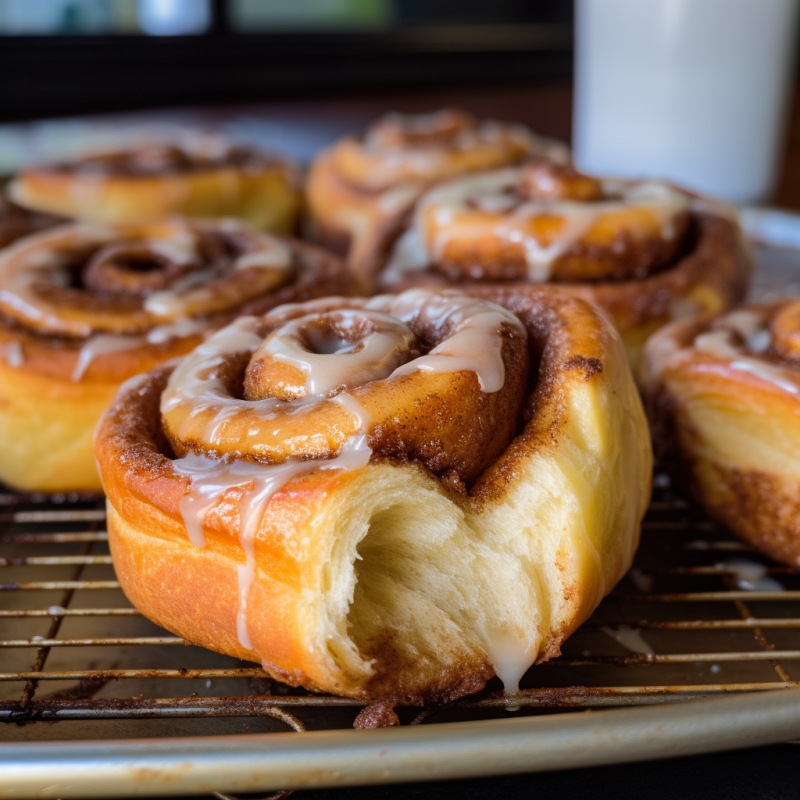
What sets the school cafeteria cinnamon rolls recipe apart from others is its simplicity. The dough is light and fluffy, the cinnamon-sugar filling is perfectly sweet without being overwhelming, and the glaze on top adds just the right amount of creaminess. Furthermore, the taste of these cafeteria cinnamon rolls sparks a certain nostalgia, transporting us back to our childhood. It’s a taste that’s deeply embedded in our memory, making these rolls more than just a sweet treat.
How to Make Your Own School Cinnamon Rolls
Would you like to recreate the elementary school cinnamon rolls at home? Well, you’re in luck! We’ve got the coveted school cinnamon rolls recipe for you right here. The method is simple, the ingredients are basic, and the result is nothing short of amazing! Here’s how to do it:
Ingredients
For the Dough:
2 cups whole milk
1/2 cup granulated sugar
1/2 cup unsalted butter
1 tablespoon active dry yeast
5 cups all-purpose flour, divided
1/2 teaspoon baking powder
1/2 teaspoon baking soda
1/2 tablespoon salt
For the Filling:
1 cup melted butter
1 cup packed brown sugar
2 tablespoons ground cinnamon
For the Glaze:
2 cups powdered sugar
1/4 cup whole milk
2 teaspoons pure vanilla extract
Instructions
Warm the milk in a saucepan until it’s about 110°F. If you don’t have a food thermometer, you can still estimate the correct temperature. The milk should be warm but not hot to the touch. One traditional method is to drop a small amount of milk on the inside of your wrist. If it feels slightly warmer than your body temperature but not hot, it’s around the right temperature. Be careful not to heat the milk too much; overly hot milk can kill the yeast, affecting the rise of your dough.
Add sugar and butter, stirring until melted. Remove from heat and allow the mixture to cool until it’s lukewarm. Sprinkle yeast over the milk mixture and let it sit for 5 minutes.
Add 4 cups of flour to the milk mixture and stir until just combined. Cover with a towel and set in a warm place for 1 hour.
Remove the towel and add the baking powder, baking soda, salt, and remaining 1 cup of flour. Stir thoroughly to combine.
Preheat the oven to 375°F.
On a floured baking surface, roll the dough into a large rectangle, about 1/2 inch thick. Pour the melted butter over the dough, spreading it evenly. Then sprinkle the brown sugar and cinnamon over the butter.
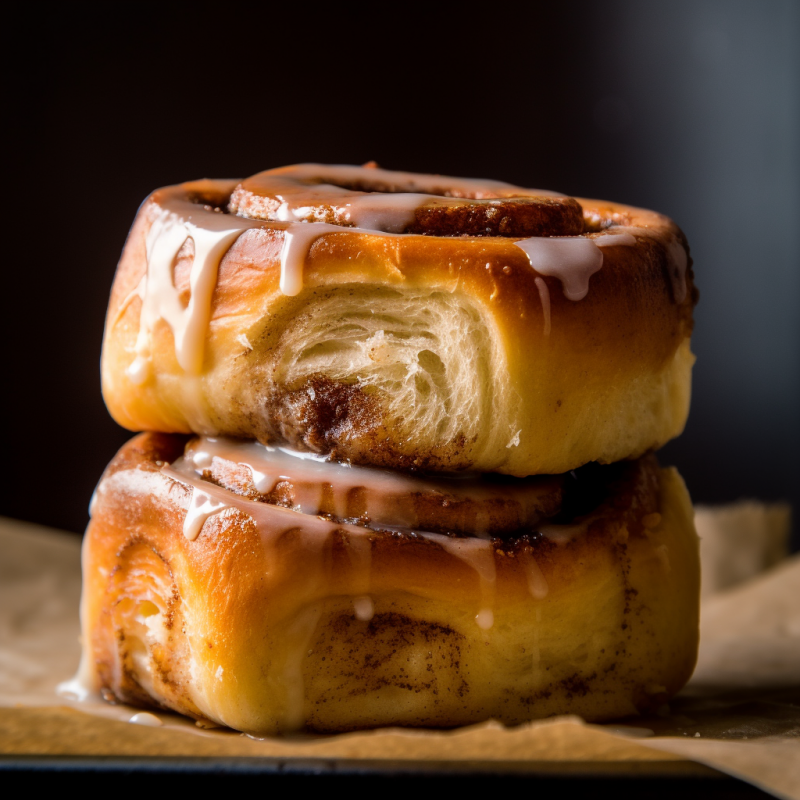
Starting from one end, roll the dough tightly towards the other end. Cut the roll into 1 1/2 inch slices and place them in a greased baking pan.
Bake for 20-25 minutes, until the rolls are golden brown.
While the rolls are cooling, whisk together the powdered sugar, milk, and vanilla extract to make the glaze. Drizzle this over the cooled rolls.
While the recipe might seem a little daunting at first, especially if you’re new to baking, don’t worry. As the saying goes, practice makes perfect. And remember, even if they’re not perfect, they’ll still taste delicious!
Hi there! I am Emily Evert, the owner of Emily Reviews. I am 28 and live in a small town in Michigan with my boyfriend Ryan and our two pugs. I have a large family and I adore my nieces and nephews. I love reading memoirs, and learning about child development and psychology. I love watching The Game of Thrones, Teen Mom, Sister Wives and Veep. I like listening to Jason Isbell, John Prine, and other alt-country or Americana music. I created Emily Reviews as a creative outlet to share my life and the products that I love with others.
My mouth is watering LOL I remember my mother making cinnamon rolls saturday night and they would be ready to finish on sunday morning…………….. they were so good
My mom used to help out with the school cafeteria many many years ago. I need to ask her if she remembers making these! I also used to love the peanut butter bars. My kids are allergic to peanuts, so I have recreated those with almond butter and they tasted pretty close. So fun to try those nostalgic things again!
Some friends and I were talking recently about school food. My great niece will only eat 2 or 3 times in the month. She does not like what they serve for lunch. But I mentioned cinnamon rolls and we all don’t ever remember having them at school. And we are old. My mother would make them all the time so mouthwatering.
I meant to make some homemade cinnamon rolls for Christmas, but I ran out of time! Maybe I can use this recipe for New Years breakfast! My kids definitely think homemade is way better than the prepackaged ones, so they would be excited!
Fitch Elementary school, Portland, Oregon in 1962, 1963 and 1964, I fell in love with these cinnamon rolls at lunch. It was pure torture to be in class on the morning they made them, the aroma of cinnamon made it impossible to focus in class!
None of my schools ever served cinnamon rolls. But my mom made such tasty ones, for a treat, or for special occasions. Your recipe might just rival hers! : )
I must have been one of the unfortunate ones, as I do not recall my school ever serving cinnamon rolls. I’m certain if they did though, that all us kids would be much happier to go to school! LOL I really love cinnamon rolls and I’ll be pinning this recipe to attempt making my own. Thank you!
ive never made school rolls before,If these tatse even close to the way the schools did I will be happy, brings back nice sweet memories of happy days of schools, when the lunch ladies actually cooked our meals they didnt come precoked
What a warm and nostalgic post — it instantly brought back the smell, the taste, and the magic of those unforgettable school-morning cinnamon rolls! 🍥✨
This brings back memories of these cinnamon rolls back in elementary school. I always looked forward to breakfast at school especially the warm taste of these cinnamon rolls.


")


Julie Waldron
Nancy
Leela
Maria Egan
Brandy Monday
sheila ressel
Ashley Parks
Brittany Gilley
Angela kraemer
Peter Mogish
gloria patterson
Anita
Helga
paula
K
Robert Scheibe
Maryann D.
Terri Quick
Kristie D.
Sandy Cain
ROCHELLE
Anita L
Polly Hall
Anne Perry
vickie duncan
Thomas Gibson
Dana
Gina Ferrell
Michael Woods

I never had anything like that at school. But I will make them for me now.